


Boat hinges can be one of the most important parts of your boat, so when they stop working properly, it's important to know how to replace them. Replacing boat hinges can help you save money by extending the life of your boat! In this article, we cover the basic steps for replacing the hinges on your boat.
Before you begin, you'll need to make sure that the screws are set up correctly, or else they could easily strip. The best way to do this is with a torque wrench. If you're not using one, just be careful not to overtighten the screws when installing them into place.
If it's been awhile since your hinges were replaced, chances are good that some of their screws may have become stripped over time and will need replacing before proceeding with installation. You can buy new bolts at most hardware stores, but if you want something strong (and less likely to rust), consider stainless steel fasteners.
Quick tip: When removing old hinges from a boat hatch or door frame, remove all existing fasteners from both hinges and gently pry off old metal plates from each hinge shaft by inserting small flathead screwdriver between metal plate and shaft - gently pry toward center until able remove plate completely.
Tools Needed
- A socket wrench is necessary to get the new hinges on.
- A screwdriver is necessary to remove the old ones.
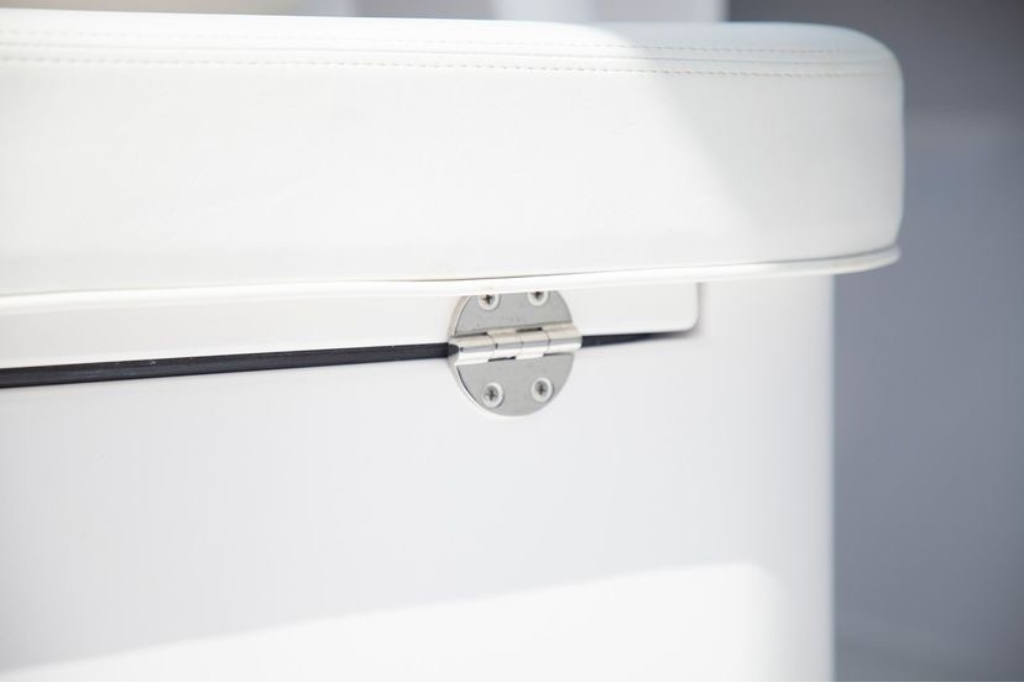
- New hinges are needed to replace the old ones.
Step 1: Secure the boat hatch, cupboard, or door in place with a strong object, like a brick.
In order to protect yourself from injury, it is important to make sure that the boat hatch or door stays in place while you are working on it. The best way to do this is by using a strong object, like a brick, placed directly over the hinge.
You should not use your hand as an anchor because accidents can happen and fingers can get injured during installation. It is also important not to use a hammer or screwdriver for this step since they could easily damage the wood around them if they slip or slide out of place when trying to pry open the latch bolt without having enough leverage on it.
Step 2: Remove the old hinge by loosening the screws and removing it from the door.
Once your hinges are exposed, you'll need to loosen the screws and remove them from the door. This may require a screwdriver or other tool depending on how large your hinge is and how tight its screws are. Be careful not to damage your boat or hatch while doing this, as it's important that you keep everything in good condition so that you don't have problems later on down the line.
Step 3: Install the new hinge in reverse of removal.
Install the new hinge in reverse of removal. First, make sure the hinge you purchased matches perfectly with the one you are replacing. This is important because if the mounting holes don’t line up properly, you may have to return these hinges and purchase ones that do OR drill new holes in your boat to accommodate the difference. Most boaters will agree in avoiding drilling new holes in your boat all together, and having to purchase new hinges will only delay the project and cause an inconvenience. Check to make sure the hinge is level and secure. Tighten down the screws. Don't over tighten the screws, you can strip them out.
Step 4: Install an additional hinge if necessary to support the weight of the door or hatch.
If you need to support the weight of your door or hatch with an additional hinge, install one on the opposite side of your existing hinge. Make sure that this new hinge is installed on the same side as your existing one so they pull in opposite directions and evenly distribute the weight of your door or hatch.
Take a drill bit that matches your screws' diameter and cut two holes into either side of the center panel where you want to mount your extra hinge(s). Then use a screwdriver to attach them with screws provided with your hardware package.
Step 5: Test your installation to ensure it has been properly installed.
Test your installation, slowly opening and closing the door or hatch several times, then tighten it down. If you are still having trouble, remove the hinge again and tighten it further with a screwdriver until the hinge feels tight when tested on all four corners of the hull.
Step 6: Don't forget to lubricate the hinge once you're satisfied with your installation.
Once you have successfully installed your new hinge(s), don't forget to lubricate them. Lubrication is essential for proper operation of any hinge. Most manufacturers recommend light oil or grease, however silicon-based lubes should be avoided as they can attract water and corrosion.
Petroleum-based lubricants like motor oil and WD40 are also not recommended because they will attract water, which can lead to rusting on the boat hinges. For most applications, we recommend light teflon-based aerosol spray lube such as Armor All or Turtle Wax Teflon Spray Lube.
Key Takeaways
Boat repair is not terribly complicated once you get used to it, but always practice safety first! Avoid injury by being careful and taking breaks as needed. Don't overwork yourself or try to do too much at once. When replacing your boat hinges and other hardware, be safe and have fun!
If you are looking to replace your boat hinges, browse the large selection of stainless steel hinges available at Marine Depot Direct. We also carry a wide variety of other marine grade stainless hardware and replacement parts to upgrade your boat!
We hope you found this article helpful in learning how to replace your boat hinges. If you have any questions or concerns about this project, please contact us directly. Good luck!