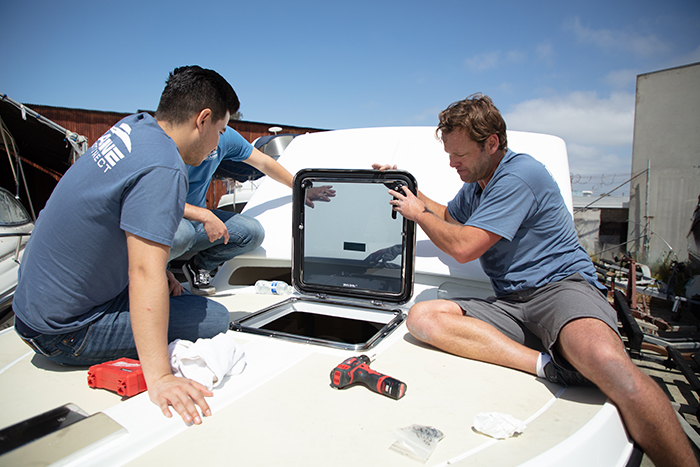
Replacing Your Boat Hatch
Getting ready to buy a new boat hatch but don’t know how to replace it? If so, then you are in the right place. In this article, we will discuss all the necessary steps you need to take for removing your old broken hatch and installing a new deck hatch. Read below to learn more about it.
Tools You Will Need
As long as you have all the essential tools that you need to replace your boat hatch, replacing the hatch is a simple and straightforward process. Here we have mentioned some of the parts and tools that you need to successfully and easily install your new hatch.
- Marine sealant
- Replacement hatch parts
- Screwdriver
- Essential screws for your boat
- Wooden wedges
- epoxy
- Traditional sanding block or electric sander
- Wide painters tape to clean the excess sealant
- Tape and garbage bag
- Paint stirrer or plastic knife
Once you have all the tools, you are ready to install your new hatch. And yes, don’t forget to roll up your sleeves. If you have little to no experience, this job can become messy for you. So, be ready for it.
Replacing Boat Hatches: Step by Step Process
You should know that installing a boat hatch is easy. As you already have the tools, and are ready to replace your hatch for a new one, here are the things that you need to do.
Step#1: Cover the Hatch
You need to cover the deck hatch from the interior side of your cabin. This will help you limit the debris and dust fall into your cabin. In this case, you can opt for any simple thing like a garbage bag and tape it to the cabin sealing.
Step#2: Remove Hatch Arms
Now it’s time to start working on your hatch. You need to remove the hatch arms to make sure that it is open and lays flat. This will help you to continue the replacing process with ease.
Step#3: Unscrew the Hatch
To remove the old hatch, you have to unscrew all the screws on it. Depending on your boat deck hatch, you may have to use a flat screwdriver to take it out. Plus, you might have to use some force because of the caulking present near the screws.
Step#4: Remove the Old Hatch
Mostly, boat owners have to make some efforts when it comes to removing their boats’ old deck hatches. DIYers also have to push small wooden wedges at the corners of the hatch to loosen it. The epoxy used for installing this hatch will still be present on the deck; hence, the hatch will be tightly fixed. Of course, the bond between the epoxy and plastic flange is not that strong that you can’t take it out, but it will be enough to prevent leaks and other problems.
After using wooden hedges, you can easily take out your hatch. Just do the procedure gradually.
Step#5: Scrape off Old Caulking
To prepare the area for your new deck hatch, you need to clean up the surface. You can see epoxy and caulking resting on the hole of the hatch. When it comes to epoxy, you can easily remove it with the help of a paint scraper using a bit of pressure. However, caulking may need some force to remove. You can use a chisel to take it off. Again, don’t be too hard on the epoxy and caulking. It is a lengthy process, but you need to be patient.
Step#6: Sand down the Surface
To make sure that the surface is completely clean, you need to sand down the surface. It will help you get rid of the tiny pieces left on your deck.
Step#7: Wipe Away
This is the last step in the cleaning procedure. Wipe the entire space to remove the debris and dust near the hole. The area should be nice and tidy so that you don’t face any problems while installing your new favorite boat hatch.
Step#8: Inspect for Wood Rot
If you have a wooden deck or frame, you need to inspect for the wood rot. Unfortunately, if you notice rotting, you need to do further repairs. In this case, you will also need a professional’s help. So, ask an expert from your local boat yard to inspect the hatch for rotting and fix it soon after you open the hatch.
Step#9: Place Epoxy
To fix your deck hatch properly to its place, you need to use epoxy. It will help you to fill the corners once you install your hatch. Make sure to make a thick mixture of epoxy for better results.
Step#10: Install the Hatch
The final step for installation can greatly vary, depending on the type of your hatch. Apply a sealant with epoxy for strong installation, and lay down your hatch into the cutout hole. Fix all the screws at their positions.
Step#11: Clean the Excess Sealant
Now you need to clean the excess epoxy from the corners of the hatch. Also, do remember to take out the garbage bag that you have placed inside the deck to collect the debris.
Congratulations, you have successfully replaced your boat hatch.
Bottom Line
Replacing deck hatch is not challenging for people who have previous experience replacing hardware or different parts on their watercraft. However, if it’s your first DIY project, then you might take a lot more time with this installation or replacement. But still, if you follow each step, one by one, you can complete this project successfully.
Sources
https://betterboat.com/boat-hatch/
https://www.boatingworld.com/diy/hatch-replacement-101/
https://www.powerandmotoryacht.com/maintenance/how-to-replace-the-hatches-on-your-boat
